
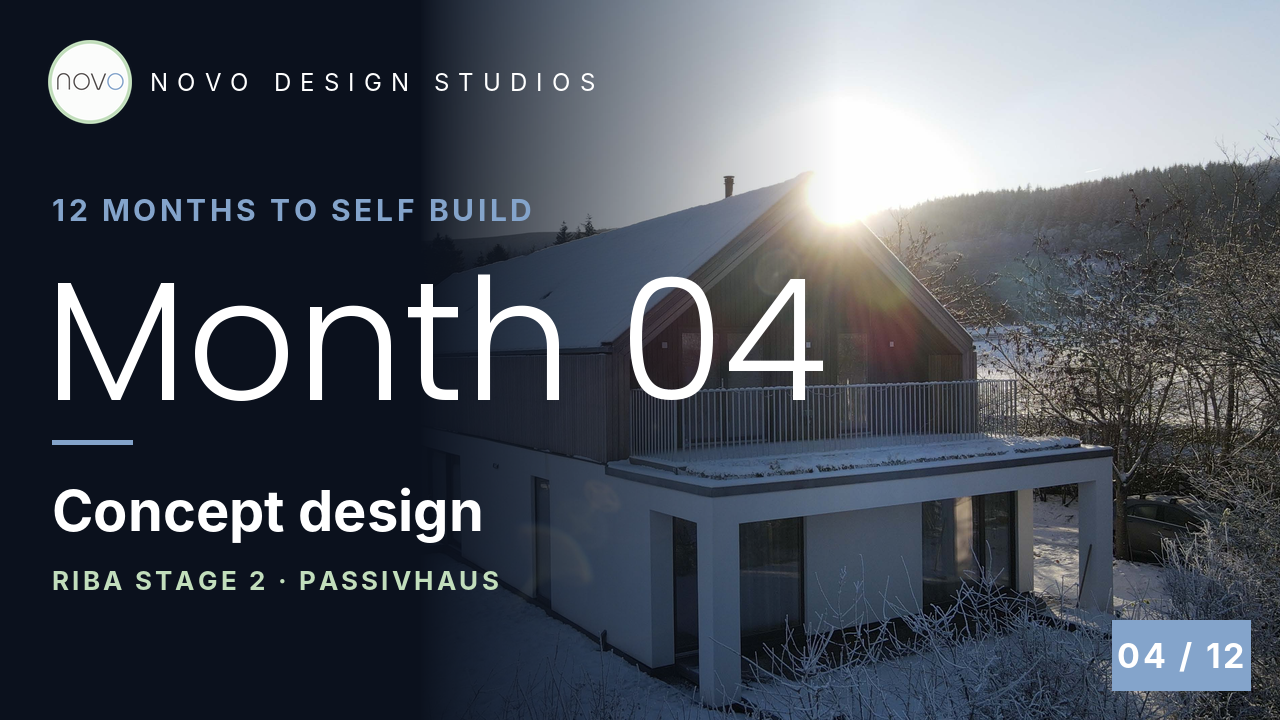
Month 04
Our aim with this short series of posts, is to provide a quick overview of the Self-Build process, explaining what to do and when, in the hope of making it appear less overwhelming, enabling you to realise your dream of building your own home.
Month 04 - Concept Design
Develop Concept Design
Month 04 is the month your new home stops being an idea and starts becoming a design.
So far in this series we've got you started with a brief, a budget and a site appraisal, secured your site, and last month put your design team in place. Now the real design work begins. In the RIBA Plan of Work, the framework most architects in the UK use to run a project, this is Stage 2: Concept Design. It's where your aspirations, your expectations and your budget are set down, and where the shape of your home first appears on paper. If you're building to Passivhaus, it's also where much of your home's energy performance is decided.
Here are the five steps I'd want every client to take this month, and the one thing that's so often overlooked.
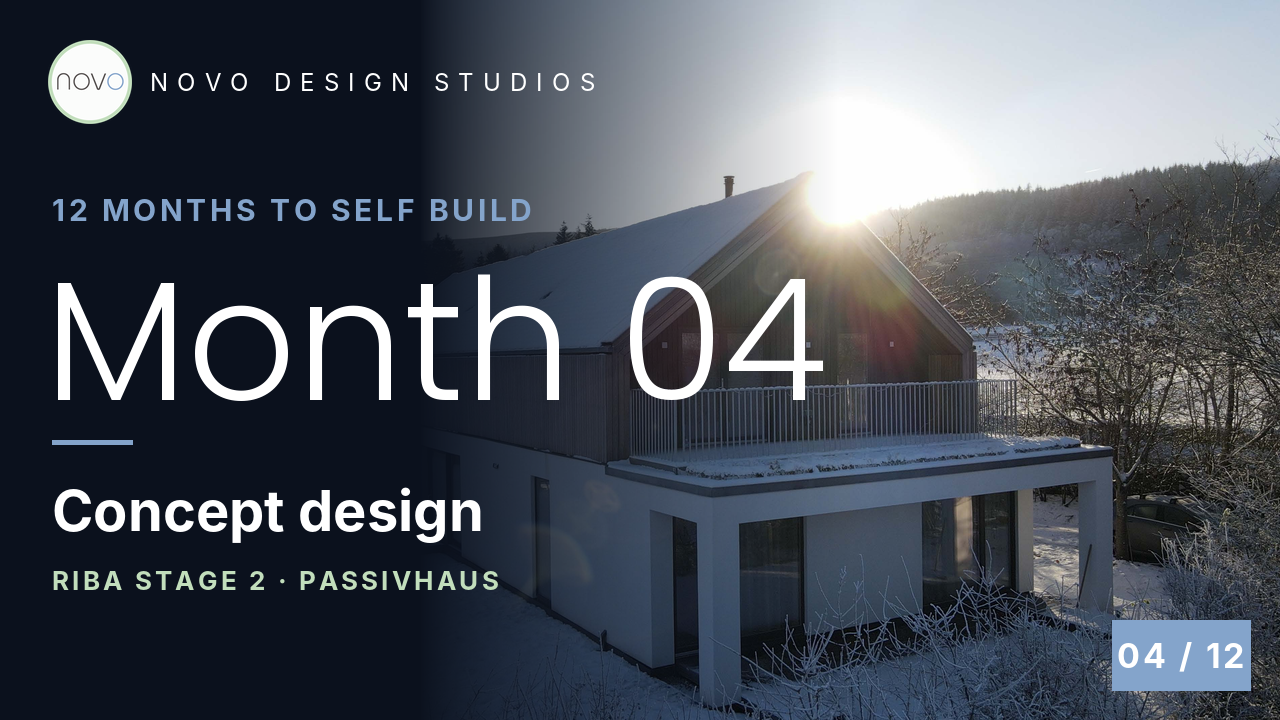
Step one: agree your brief
Before anyone draws a line, you and your architect need to agree, in writing, what you're asking for. Without that, any design work risks being wrong, or worse, wasted.
It sounds obvious, but this is the step most likely to be rushed. Set aside proper time for it. A good architect will ask you plenty of searching questions: how you live now, how you want to live, and what this home needs to do for you in ten or twenty years' time. Some of those questions are uncomfortable to answer, and that's the point. The answers shape the rooms, the light, the way the house meets the garden and the way it will age with you.
Your brief should also set out your sustainability goals, your energy performance targets and your budget. And if you're building to Passivhaus, agree which class you're aiming for: Classic, Plus or Premium. That one decision shapes everything that follows.
If you'd like a structure to work through, our free Briefing Template covers vision and lifestyle, functional needs, sustainability and materials, budget and timeline: novo-design.co.uk/briefingtemplate.
Step two: understand your site
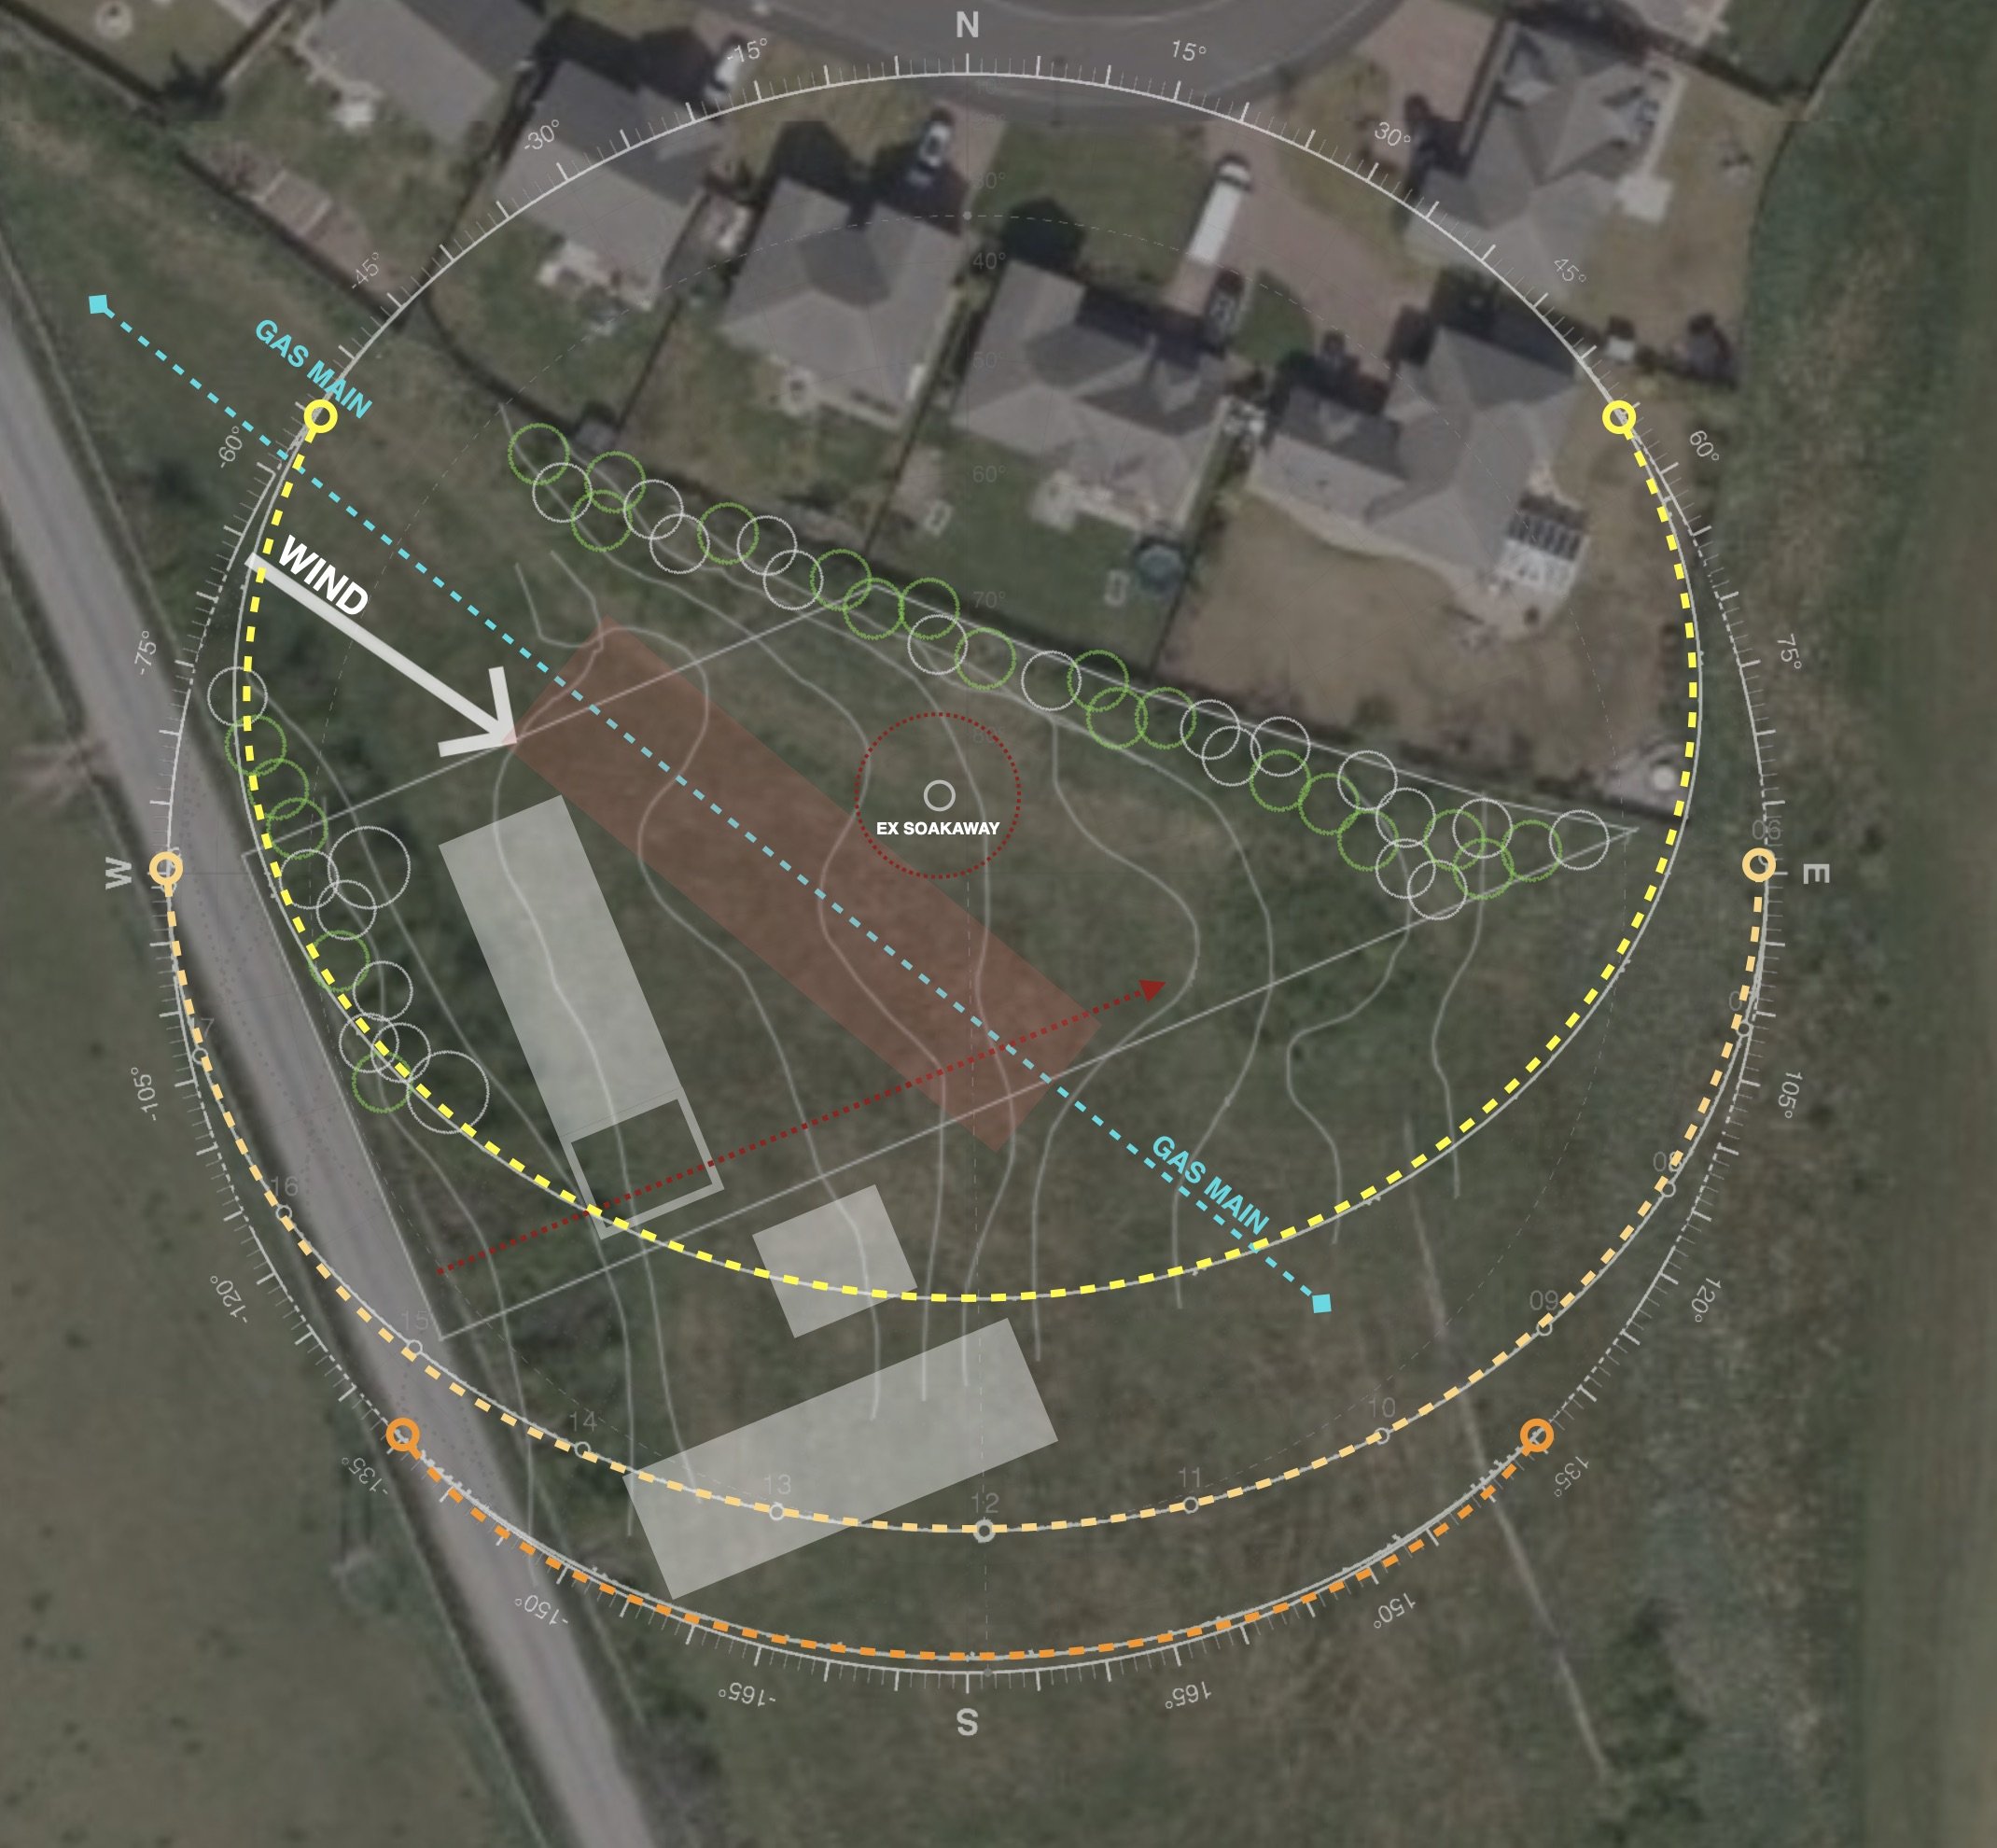
Next, your design team carries out a thorough site analysis: orientation, the path of the sun, the topography, the prevailing wind and the local climate. They'll also look for anything particular to your site that could limit the design, or inspire it. A view, a slope, a mature tree or a stone wall can be a constraint on paper and the making of the house in reality.
For a Passivhaus this matters enormously. Orientation and shading drive your solar gains, and they're very hard to fix later. Get them right at concept stage and everything that follows has something solid to stand on.
This is also a good moment to make a first enquiry with your local planning authority, to understand any constraints early. We'll come back to planning properly in Months 05 and 06, but the principle is simple: work with planning policy, not against it. Early engagement is the start of a productive working relationship with a key stakeholder in your project.
Step three: shape the concept
This is the exciting part. Design at this stage moves quickly. Hand sketches, drawings and early 3D models explore the form of your home, how it sits on the site, what it looks like and how the rooms relate to each other.
Behind the scenes, we test each option for energy performance. For a Passivhaus, that means early modelling in the Passive House Planning Package, or PHPP, to compare options and optimise the form, orientation and envelope before the design settles.
It's good practice to look at more than one option. It's far easier to explore ideas now than to change your mind later, when the structure, the services and the planning drawings all depend on the decisions you've made.
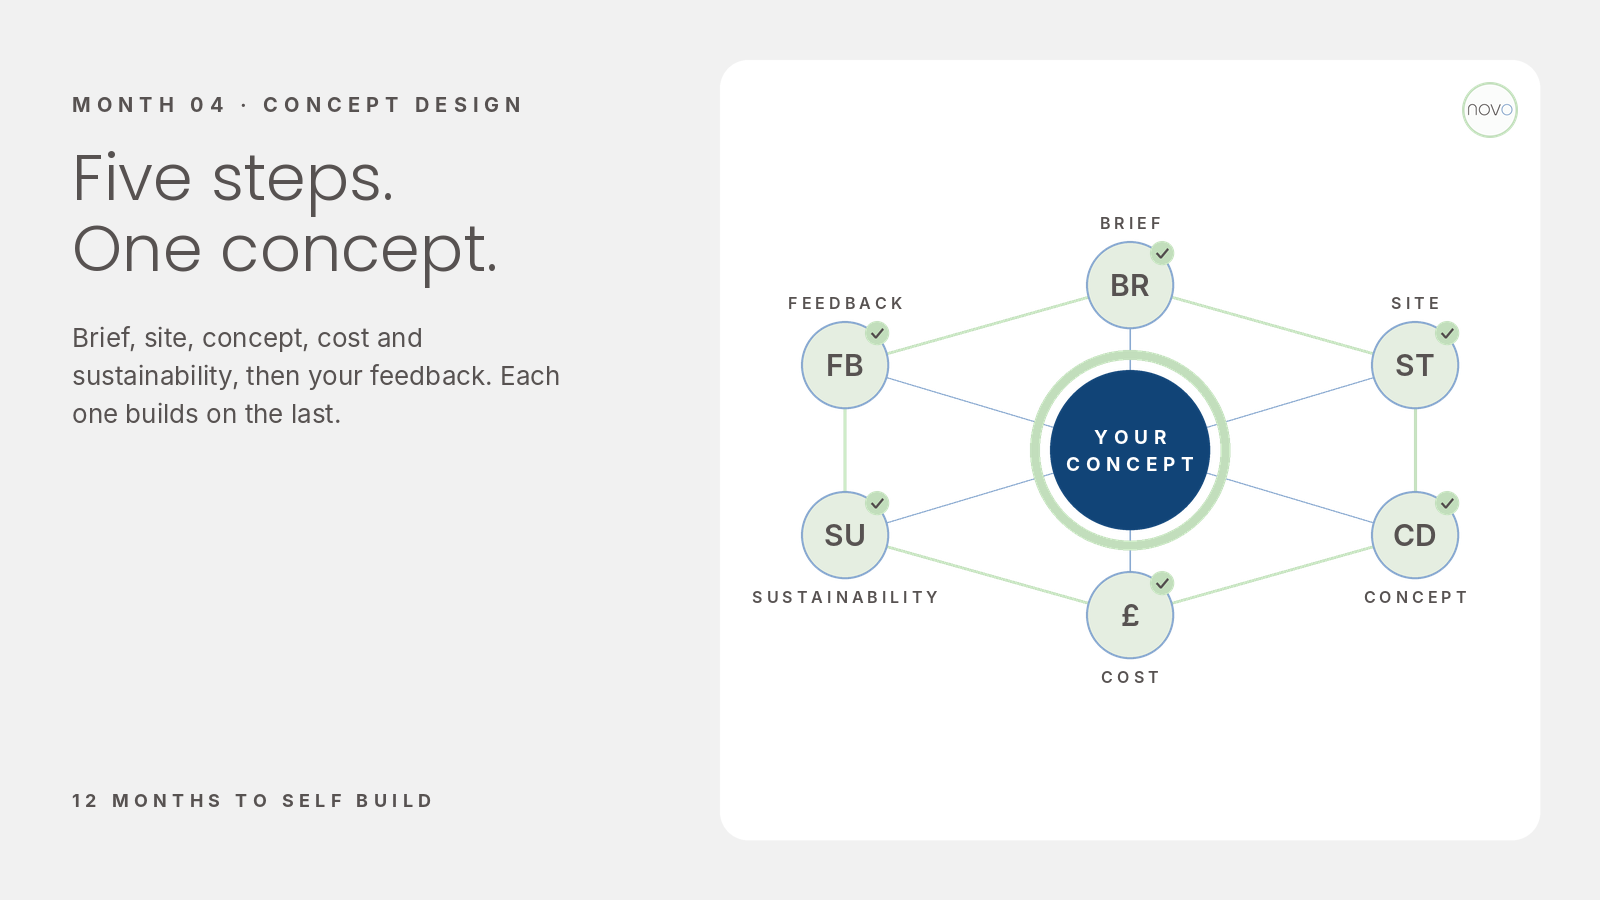
Step five: your feedback
Any successful project needs engaged client feedback. It empowers your team to deliver for you.
In our experience, an engaged client who pushes and tests their design team ends up with a better home than one who sits back. So make the time. Meet with your design team, review the drawings, ask questions, and don't be afraid to challenge the decisions being made on your behalf. Then make sure the design is updated to reflect what you've said, so your vision is accurately represented.
By the end of Month 04 you should reach three milestones:
1. A concept design presentation, with drawings, sketches and 3D views.
2. Approval of the preliminary cost plan, your go-ahead to the next stage.
3. An agreed sustainability strategy, aligned with your Passivhaus target.
The one thing people forget: your utilities
And finally, the step that's so often overlooked. During Month 04, contact your utility providers and ask for costs and permission to connect to your site. Back in Month 02 you checked that services were available. Now it's time for formal quotes, so the connections can be integrated into the design.
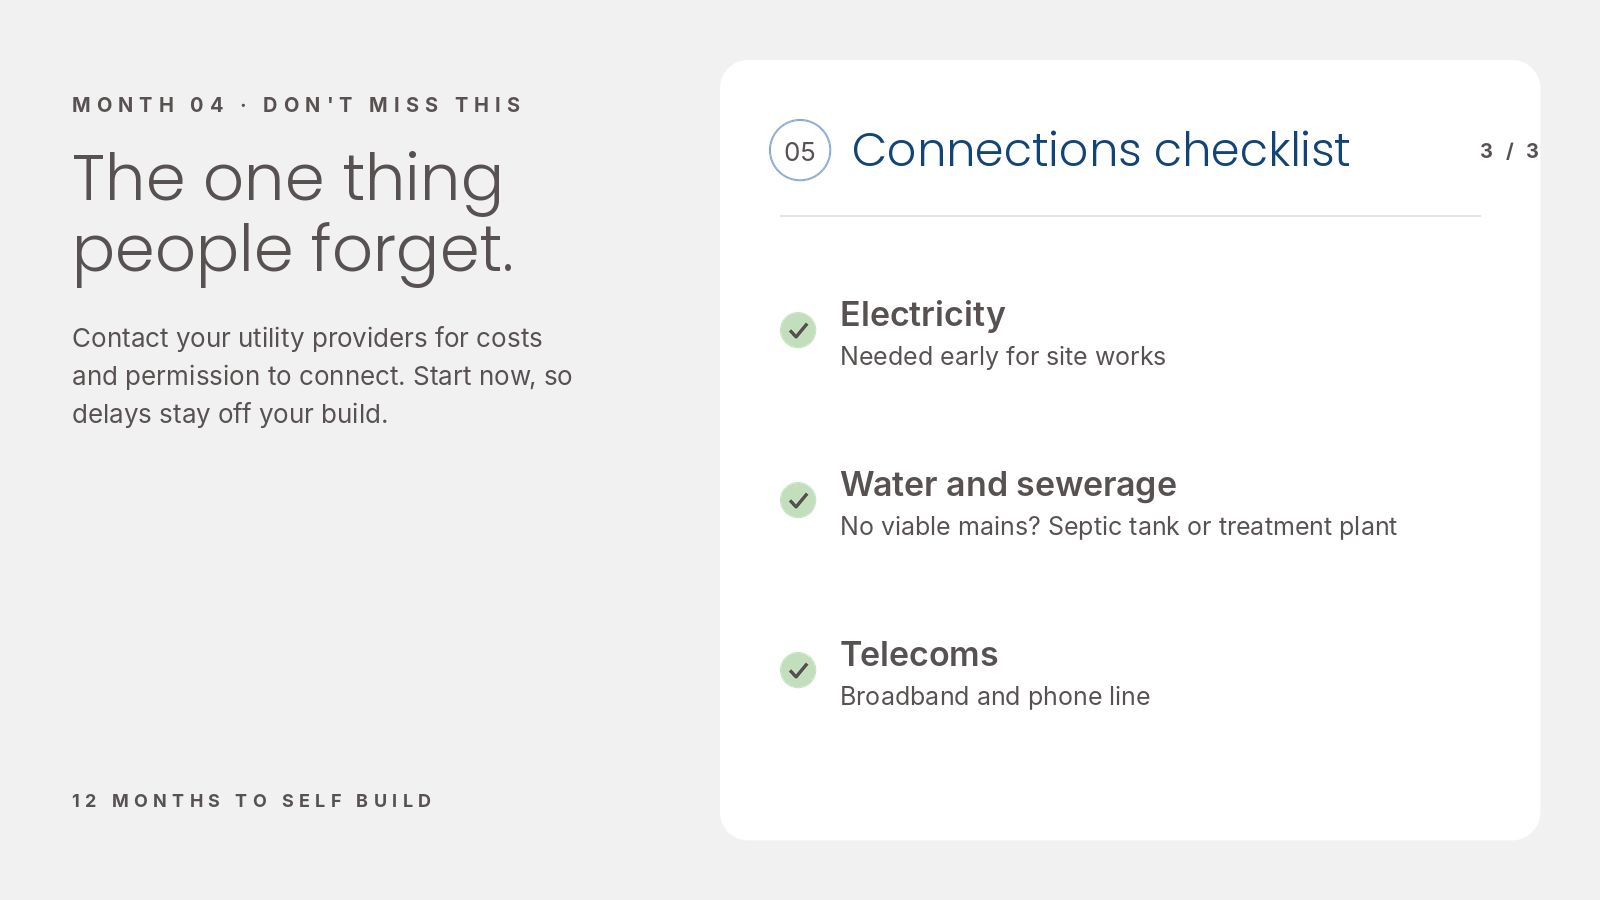
Use this as a checklist:
Electricity. You'll need it early for the site works.
Water and sewerage. Also needed early. For foul drainage, if a mains connection isn't financially viable, you may need a private system such as a septic tank or treatment plant, and that affects where the infrastructure goes on your site.
Telecoms. For your broadband and phone line.
In some instances you may not be able to secure a connection and will need to look at alternatives. Connections can be expensive, depending on where your site is and the capacity of the local network, and communication with utility providers can be slow and frustrating. Start now, so any delay doesn't land on your build programme.
Where Month 04 leaves you
By the end of the month your brief is agreed, your site is understood, you have a concept design you're excited about and a cost plan that supports it, and your utility applications are under way.
Next month, in Month 05, we test that concept against the engineering, coordinate the whole design and open talks with your planning authority.
We hope this article has been helpful and inspirational. If you would like to know more, you can contact us here.

Month 03
Our aim with this short series of posts, is to provide a quick overview of the Self-Build process, explaining what to do and when, in the hope of making it appear less overwhelming, enabling you to realise your dream of building your own home.
Month 03 - Appoint Your Design Team!
Appoint Your Design Team
Two months in, you have a brief, an outline cost plan and a site you have appraised and secured. Month 03 is the point where the project stops being yours alone. It's time to appoint the people who will design your home with you.
A self-build design team can be as small or as large as the project needs. At the most basic level, there are two appointments I would treat as an absolute minimum: an architect and a structural engineer. For a Passivhaus or low-energy home you will probably add specialists, and many self-builders benefit from a quantity surveyor too. Here is what each one does, and what I would look for.
The Architect: Your key appointment
Your architect is the key member of your team. They will typically be with you from project inception to completion, understanding and developing your brief and manifesting it in a design that is unique to your requirements and your site.
That role goes well beyond drawing. Building a new home can be a complex process, and your architect will help you navigate it, assisting with negotiations with Planning, with Building Control and, of course, with contractors. When your project starts on site, the architect can review the contractor's performance on your behalf, while also helping the contractor with site queries. Having someone on your side at that stage is one of the most valuable parts of the appointment.
A question I'm often asked is whether the architect needs to be local. It isn't strictly necessary. At Novo Design Studios we work all over the country, using digital technology to communicate ideas and information easily and quickly. Combined with regular visits to site, that approach supports a successful, collaborative and timely project.
What is important is that you build a trusting relationship with your architect. They need to understand, empathise with and interpret your specific requirements for your new home. For a more in-depth overview of what an architect can do for your project at each stage, our free Novo Investment Guide is available to download: https://www.novo-design.co.uk/investmentguide-1
The Structural Engineer: the second must-have
The next crucial member of your design team is the structural engineer. Your engineer is responsible for the design of your foundations, below-ground drainage and superstructure. They are also key to providing design certification in support of your Building Warrant application. (Building Warrant is the Scottish term; elsewhere in the UK you will be seeking Building Regulations approval.)
Working closely with your architect, the engineer helps decide the most appropriate and cost-effective way of building your new home, while respecting the integrity of the original design ideas. That balance matters: the right structure supports the design rather than reshaping it.
Finding one is often straightforward. Your architect will usually have an engineer they like to work with, so it's always worth asking.
Specialist consultants for Passivhaus and low-energy homes
If you are building to the Passivhaus standard, or aiming for a low-energy home, there are other key members to consider.
• Passivhaus Designer. Perhaps your architect is your Passivhaus Designer. At Novo, that is the case.
• Passivhaus Certifier. If you are seeking formal certification, you will also need a Passivhaus Certifier who is separate from the designer.
• Services Engineer. Brought in to assist with the design of more complex heating or ventilation systems.
These roles are easy to blur, so my advice is to be clear at the outset about who is doing what, and whether certification is part of your brief. It affects who you appoint, and when.
The quantity surveyor: keeping the budget under control
The final key member you may wish to consider is a quantity surveyor. A QS is a construction cost consultant. Try to use one who specialises in domestic self-build. If your home is a Passivhaus or low-energy home, it is often best to appoint a QS who is experienced in the delivery of such homes.
The QS helps you manage the financial decisions required during the design process. Every design decision has a fiscal impact. A good QS gives positive feedback to the design team so that the design is developed in line with your agreed project budget.
Building your own home is often the single most important financial decision you will make. Having professional assistance to manage it can be invaluable, and can save you money. It also connects directly to the outline cost plan you prepared in Month 01: the QS is the person who keeps that plan on track as the design develops.
A collaboration, not a list of suppliers
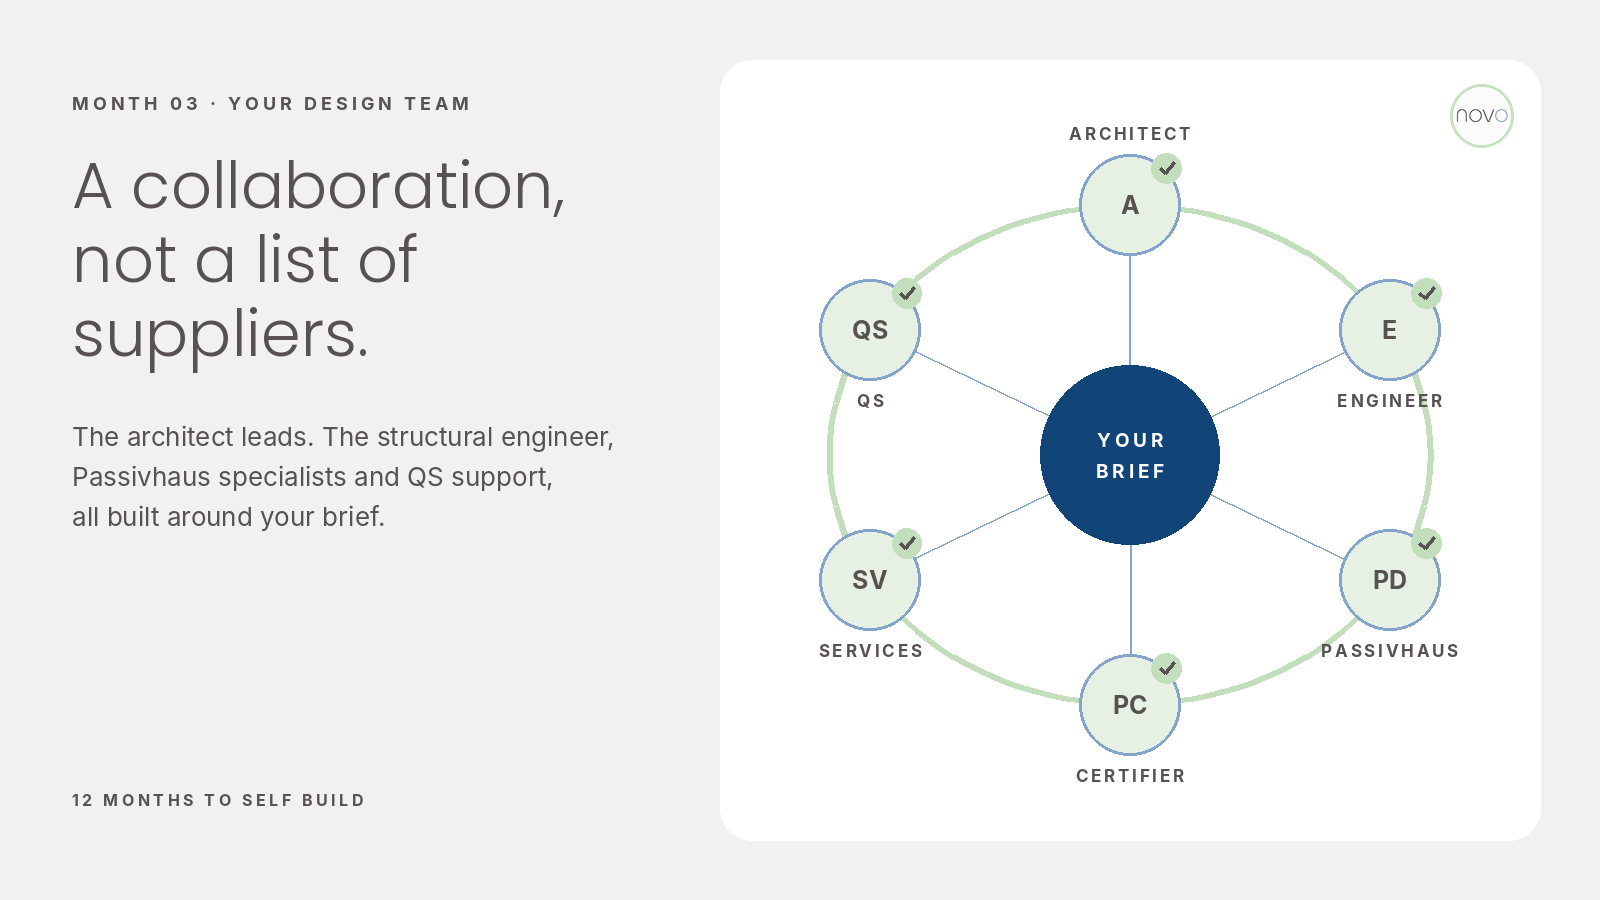
It is tempting to treat these appointments as a shopping list. In practice, the best design teams are built around your brief. The architect leads, with the engineer, the Passivhaus specialists and the QS supporting, each feeding into one shared set of decisions.
What makes that work is the relationship between you and the team: empathy, trust and regular communication. Those are what make a project successful and keep it on time. When you meet potential team members, pay as much attention to how they listen as to what they have done before.
Questions worth asking
Before you appoint anyone, it helps to have a short conversation with each candidate. A few questions I would suggest:
• Have you worked on self-build homes like mine, and can I speak to some of your previous clients?
• How will you communicate with me, and how often?
• Who else in the design team do you usually work with?
• For Passivhaus projects: have you designed or delivered certified homes before?
• How will I know the design is staying within my budget?
The answers will tell you as much about the relationship as about their experience. Both matter, because you will be working closely with these people for the next year or more.
Your Month 03 checklist
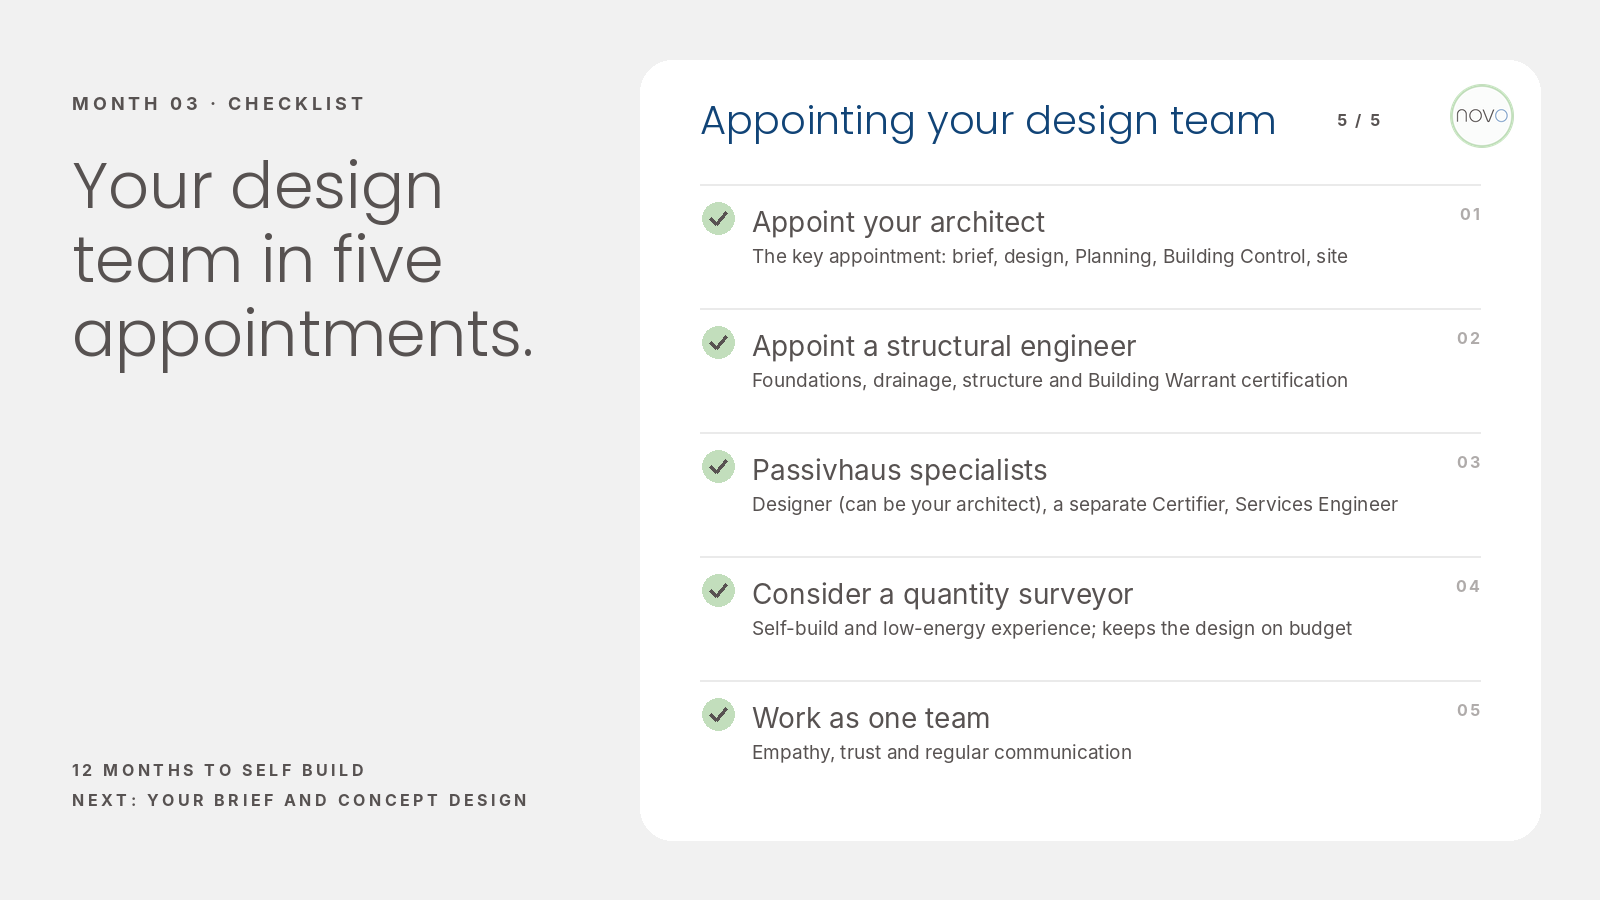
1. Appoint your architect: someone you trust to understand and interpret your brief.
2. Appoint a structural engineer, ideally one your architect already works with.
3. Building to Passivhaus? Confirm your Passivhaus Designer and, if you want certification, a separate Certifier. Add a Services Engineer for complex heating or ventilation.
4. Consider a quantity surveyor experienced in self-build and, ideally, low-energy homes.
5. Agree how the team will communicate with you, and with each other.
What's next
Congratulations: with these appointments made, you have your design team. Next month we move on to interpreting your brief and developing concept designs.
We hope this article has been helpful and inspirational. If you would like to know more, you can contact us here.
Month 02
Our aim with this short series of posts, is to provide a quick overview of the Self-Build process, explaining what to do and when, in the hope of making it appear less overwhelming, enabling you to realise your dream of building your own home.
Month 02 covers one simple task - Securing Your Site.
Secure Your Site
In Month 01 you did the groundwork. You wrote a brief that describes how you want to live, drafted an outline cost plan, and appraised the sites on your shortlist against orientation, topography, access, utilities and the rest.
Now one of those sites stands out. It meets your brief. The numbers work. You can picture the house on it.
This is the moment many self-builders lose momentum, or lose the plot altogether. Month 02 is about acting on your appraisal: securing the site you have chosen, quickly, and on terms that protect you.
Move quickly, but know your options
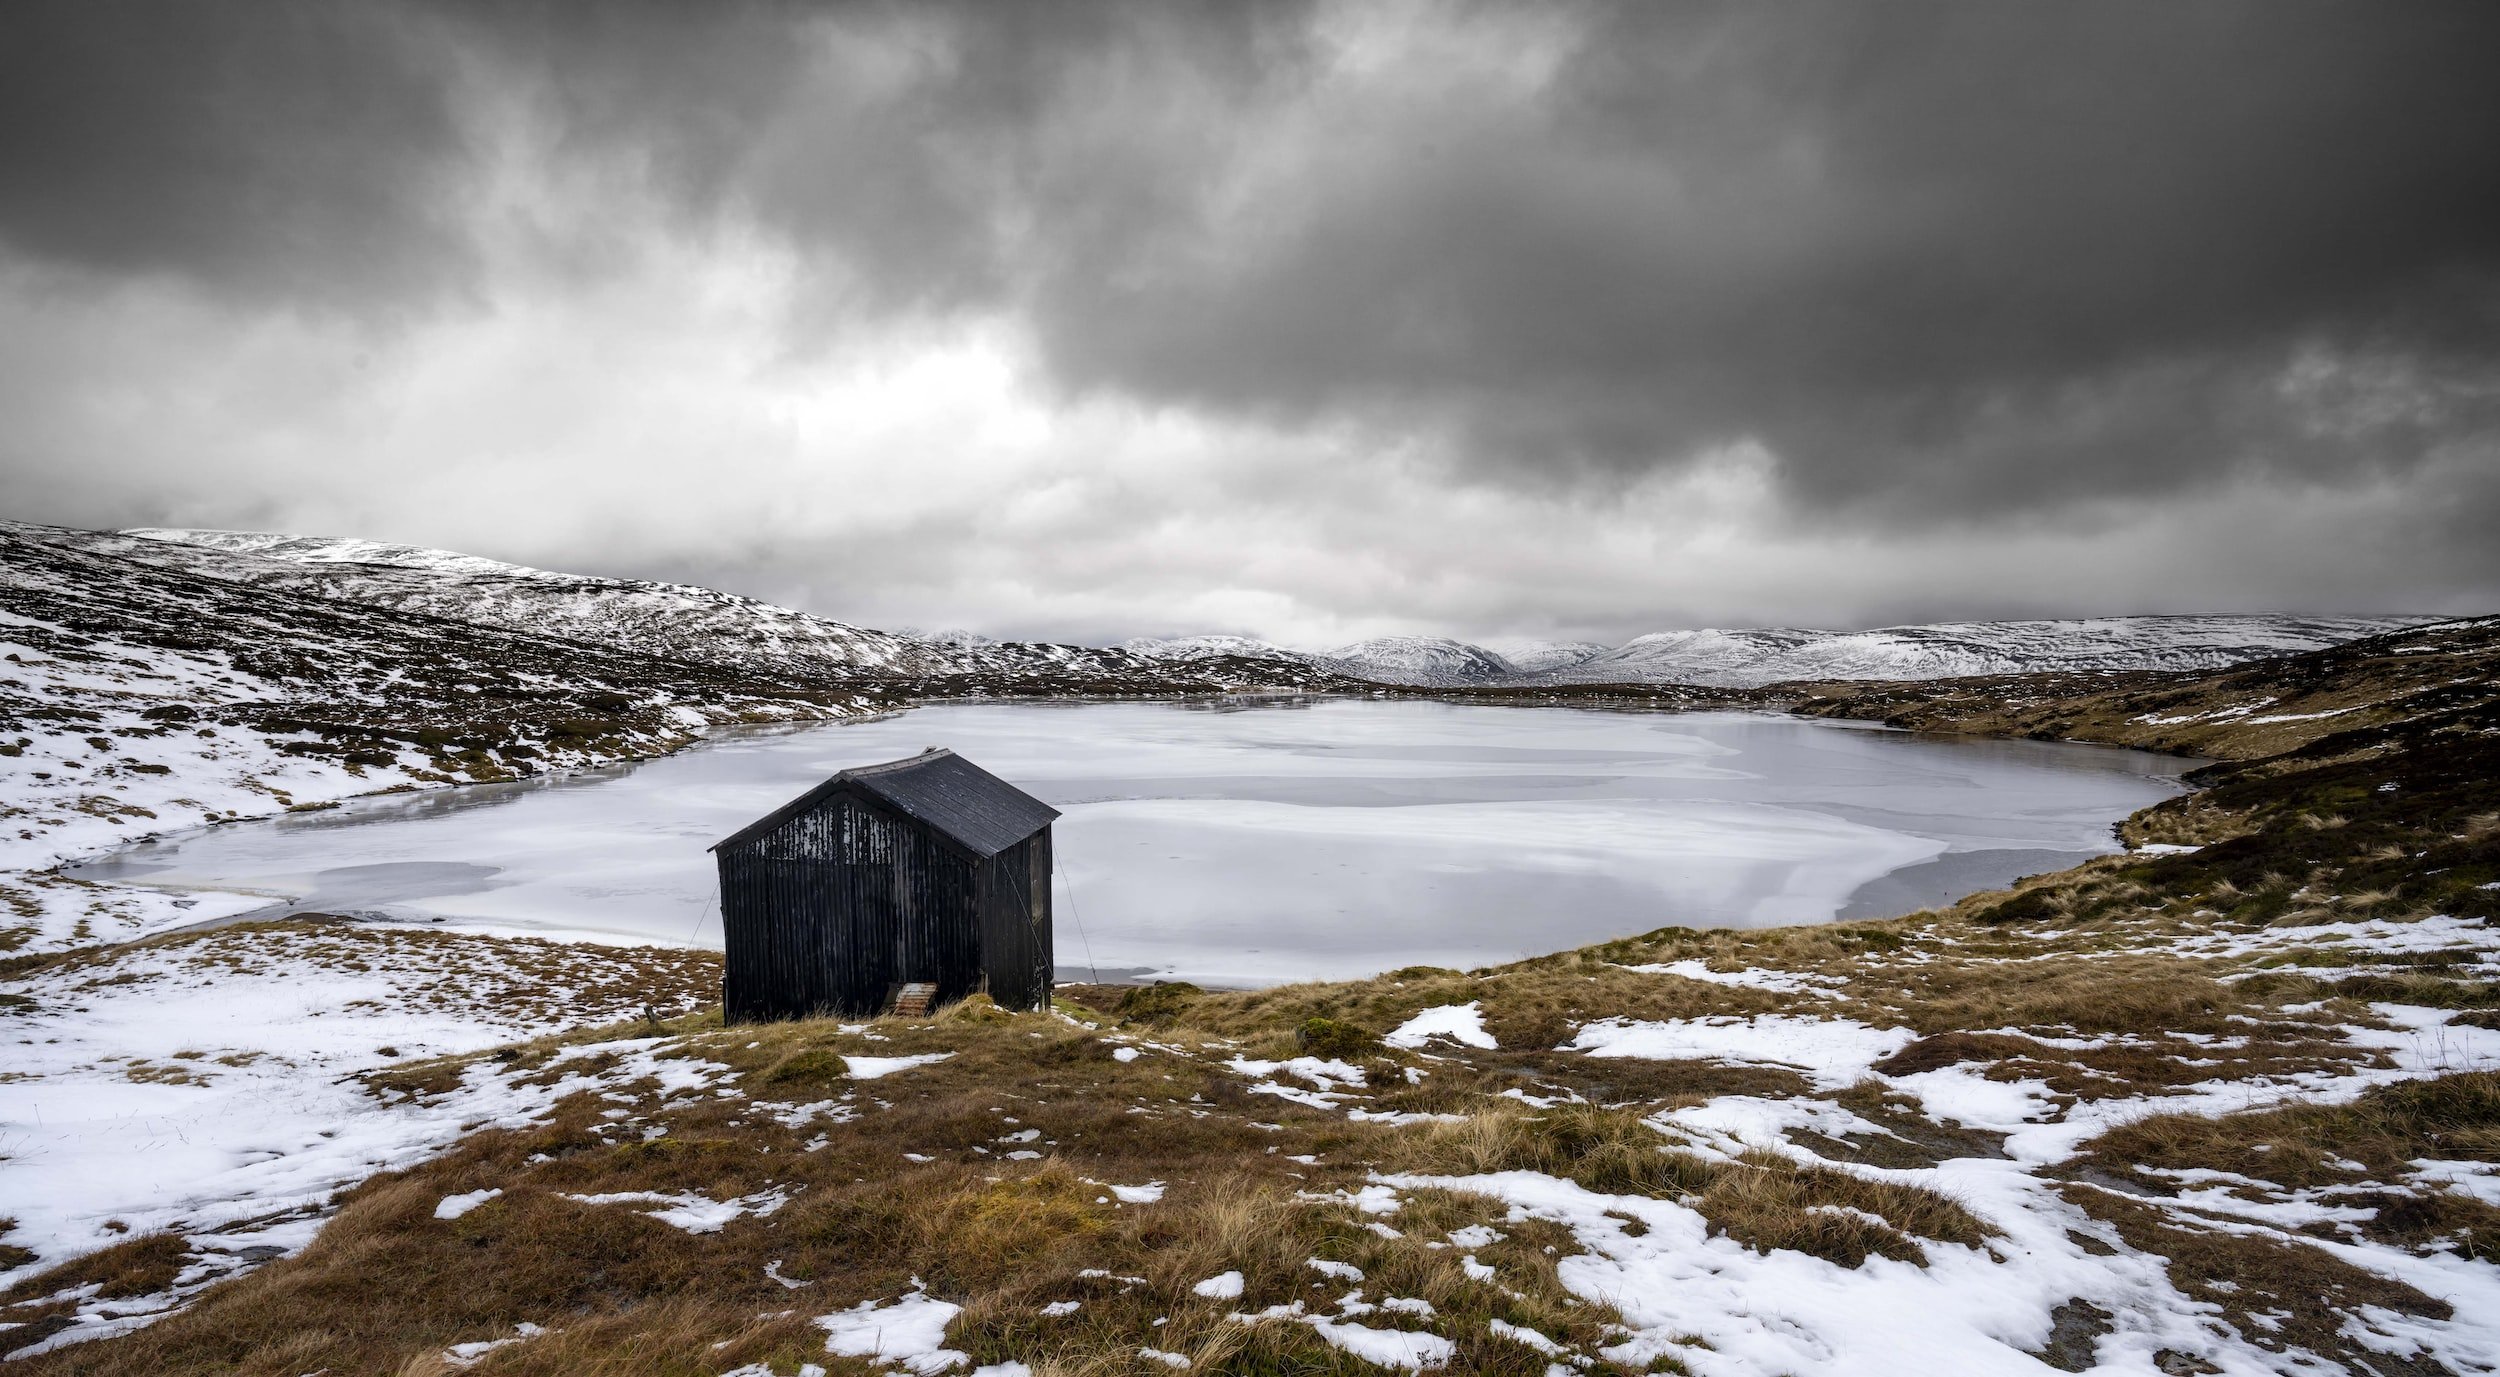
Once you have identified a site that meets your requirements, the important thing is to secure it as quickly as you can. A site that suits your brief, and suits a Passivhaus, with the right orientation and a sensible slope, is worth acting on.
What surprises most people is that there is more than one way to secure a site. Buying it is the obvious one. It isn't the only one. Which route suits you depends largely on a single question.
Does the site already have planning permission?
Route one: purchase outright
The simplest way to secure a site is to buy it.
Perhaps the site already has full planning permission for a new home. That can feel like the hard part done, and in some ways it is. But a planning consent is granted for a particular design, often someone else's, with conditions attached.
So before you buy, read the case officer's report on the planning application. It sets out the key points and the planning policies the consent has addressed, and it is usually published alongside the decision on the planning authority's website.
Then contact the local planning authority. Discuss any key constraints the existing consent carries. Take the opportunity to speak to the case officer about whether there is scope to change the design so it meets your own requirements.
That conversation tells you something important: how much of the finished home can genuinely be yours. A consent that leaves little room for change may still be the right site, but you should know that before you commit.
Route two: the option agreement
If your site doesn't have planning consent, you can still secure it, using what is called an option agreement.
An option agreement is a legally binding contract that compels you to purchase the site should you gain full planning consent. It is particularly useful on sites that have no planning consent associated with them at all.
The protection is in the other half of the deal. Should you be unable to secure the consent you need, the option allows you simply to walk away, with no obligation to purchase.
Options are usually time limited, often to somewhere around 12 to 18 months. That keeps the timescale reasonable, and it protects both parties: the seller isn't tied up indefinitely, and you have a defined window to take the design through planning.
For anyone used to managing risk, that is the appeal. An option turns the biggest uncertainty on an unconsented site into something you can plan around rather than something you have to absorb.
Before you sign: check the services
Whichever route you take, there is one check I would never skip.
Sites are often sold without service connections: water, electricity, gas and telecoms. Bringing those services to a site can be difficult and very costly, especially on the rural plots so many of our clients are drawn to.
We therefore recommend proper due diligence before you enter into any form of legal agreement to purchase:
Validate any servicing claims made by the vendor. "Services nearby" is not the same as "services available".
Check the availability of each service, and how it would reach your plot.
Check the cost of installation and connection, and add it to your outline cost plan from Month 01.
You can also place a condition on the purchase that obliges the seller to service the plot before you buy. Be aware, though, that such conditions often carry a monetary limit, so read the detail.
Choose a Solicitor who knows land deals

As with any legal agreement, take advice from a solicitor before you sign anything. And not just any solicitor.
Endeavour to work with a solicitor who is familiar with the details and nuances of land acquisition. Family conveyancing solicitors often aren't familiar with these deals, and option agreements in particular need careful drafting.
Three simple questions help:
1. What is your experience of land acquisition?
2. Have you drafted or negotiated option agreements before?
3. Can I speak to previous clients about their experience?
A solicitor who answers those well is worth their fee many times over.
Month 02 in Four Steps
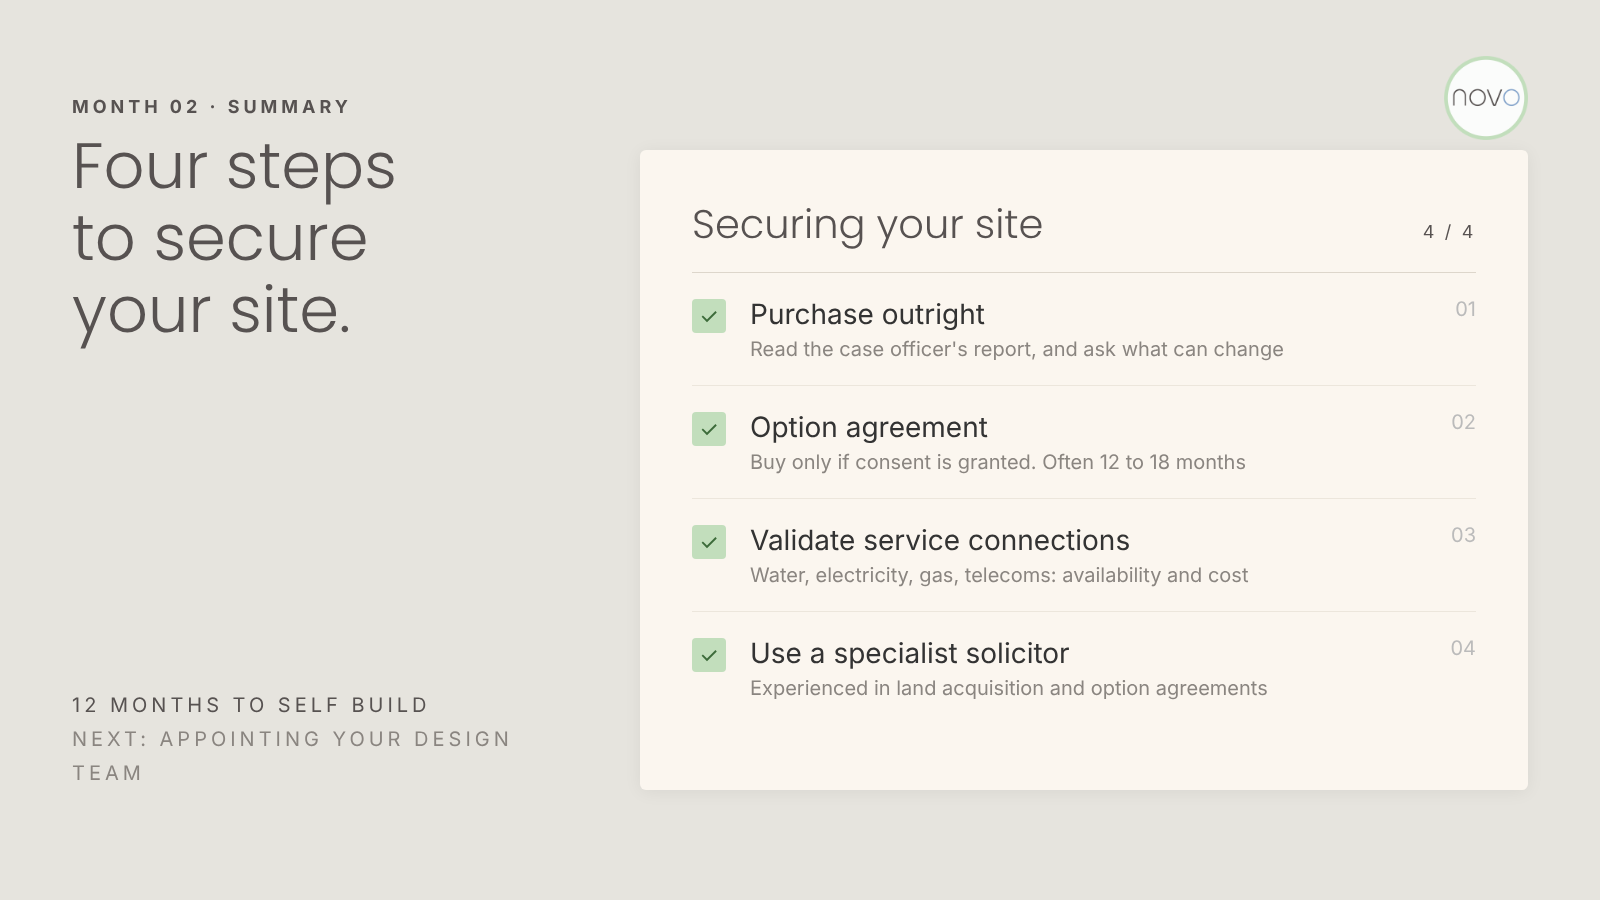
1. Purchase outright, once you have read the case officer's report and understand what the planning permission allows and whether it can change.
2. Take an option where there is no consent yet, so you only buy if planning is granted.
3. Validate the services, and check availability and cost before you sign.
4. Use a specialist solicitor, experienced in land acquisition and option agreements.
With your site secured, you can begin to plan your new home in real terms. That is a significant milestone, and it deserves a moment.
Month 01
Our aim with this short series of posts, is to provide a quick overview of the Self-Build process, explaining what to do and when, in the hope of making it appear less overwhelming, enabling you to realise your dream of building your own home.
Month 01 of our 12-month self-build plan: develop your brief, draft an outline cost plan and appraise your site. Watch the video or read the article.
Introduction
Building your own contemporary, ecological home is a long-held dream for many of the professional and aspirational clients we work with. For years, many of them have settled for unfulfilling, poorly designed and poorly performing homes from the volume housebuilders. They are looking for something better.
A home built to your exact specification, one that is engaging and promotes your wellbeing, is a wonderful legacy to leave your family. Perhaps you're passionate about the environment. Perhaps you value quality over consumption, or you simply appreciate good design. All of these can be realised through the design of your own contemporary, sustainable home.
Getting there can seem daunting, though. There are many complex processes and many people involved. That's why we've created 12 Months to Self Build: a 12-chapter video series that takes you through commissioning and designing your own home, all the way to the point where construction starts. Each month sets out the key strategic actions to take. With this framework, the aim is for you to be starting construction of your new home within a year.
Month 01 has three actions. Watch the video below, or read on.
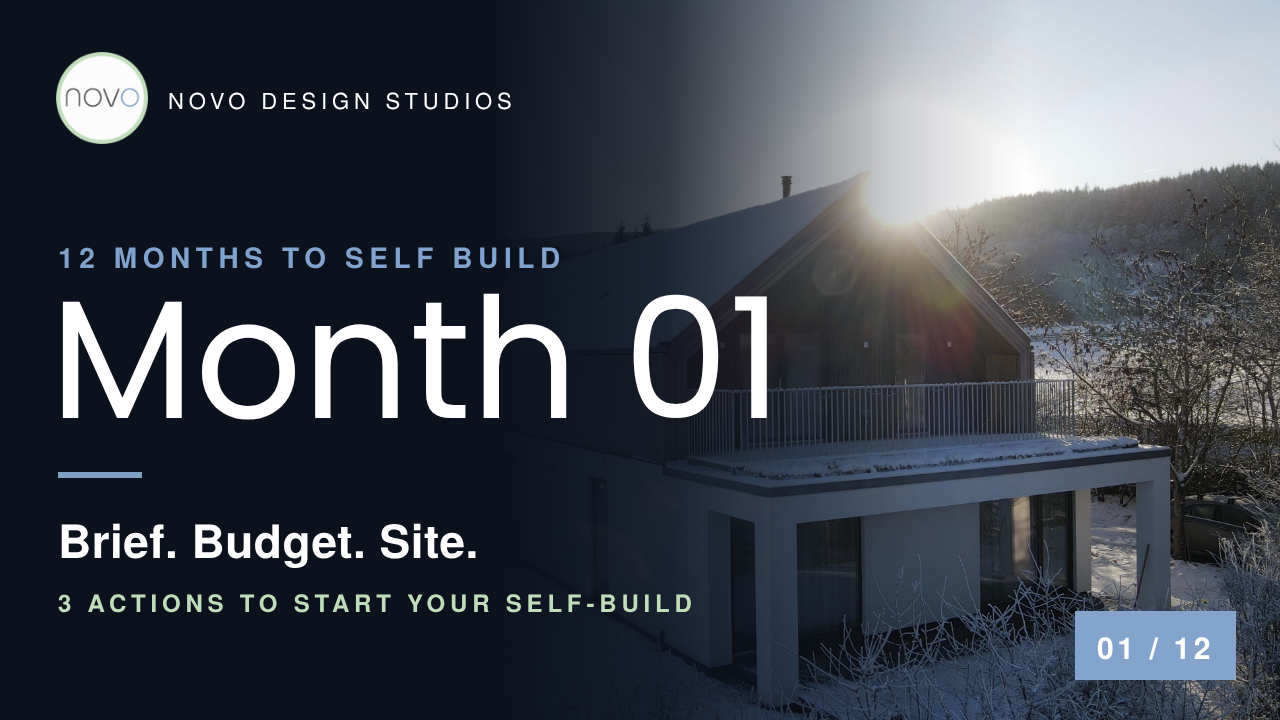
Watch Month 01 in under 9 Minutes.
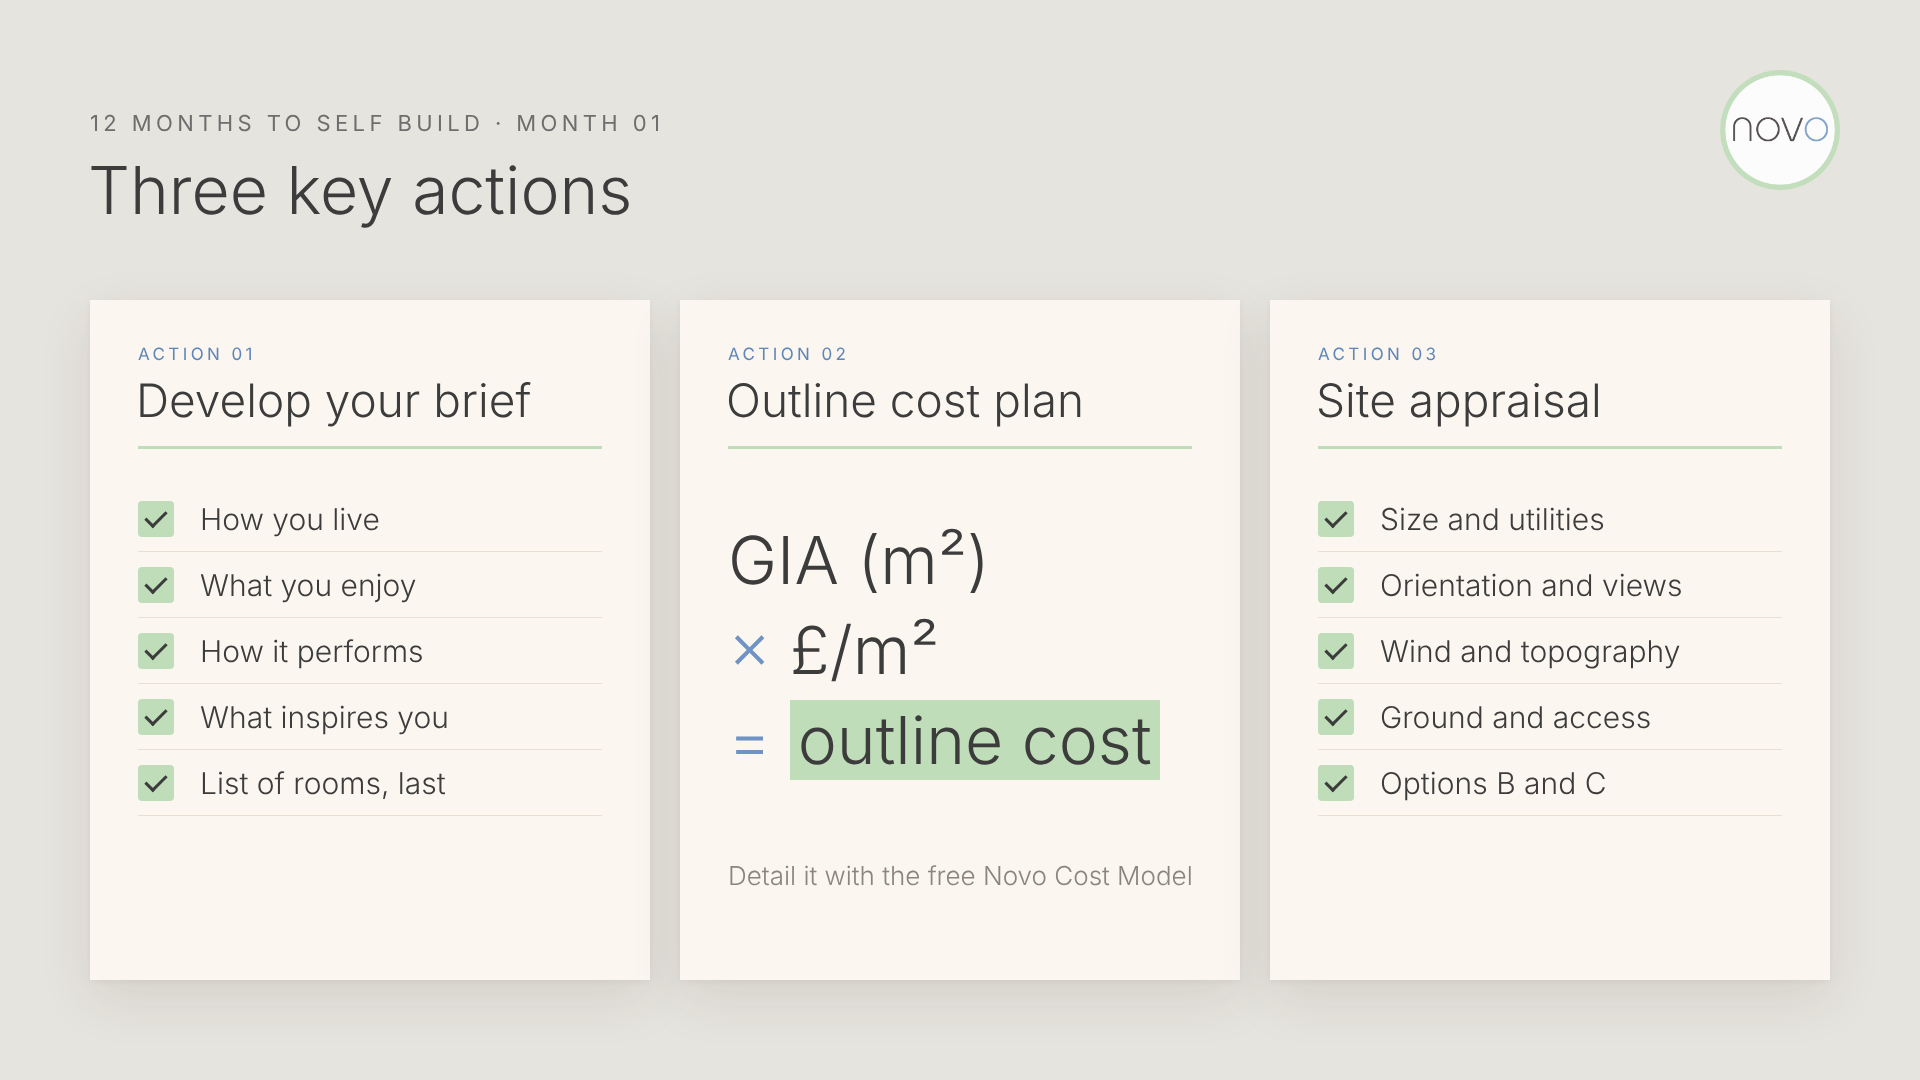
Month 01 at a glance: develop your brief, draft your outline cost plan, appraise your site
Action 01: Develop your brief
The first step in any design endeavour is to develop your brief. In simple terms, your brief is a statement of exactly what you want. It could be as simple as a schedule of rooms, or a comprehensive document setting out detailed performance requirements. Often, it's better to aim for something in the middle.
Start with what is important to you in your home. Where do you spend your time at different points in the day? Where do you like to relax? Then record the things you enjoy doing at home, whether that's a hobby, sport, the gym, reading, cooking or a long, warm bath.
Next, consider how you want the home to perform. Are there energy efficiency metrics you want it to meet? Perhaps you don't want to use fossil fuels, or you want to live off-grid. Managing embodied carbon may matter to you, or you may have a real interest in vernacular materials. All of these belong in your brief, because the answers are fundamental to what your home will become.
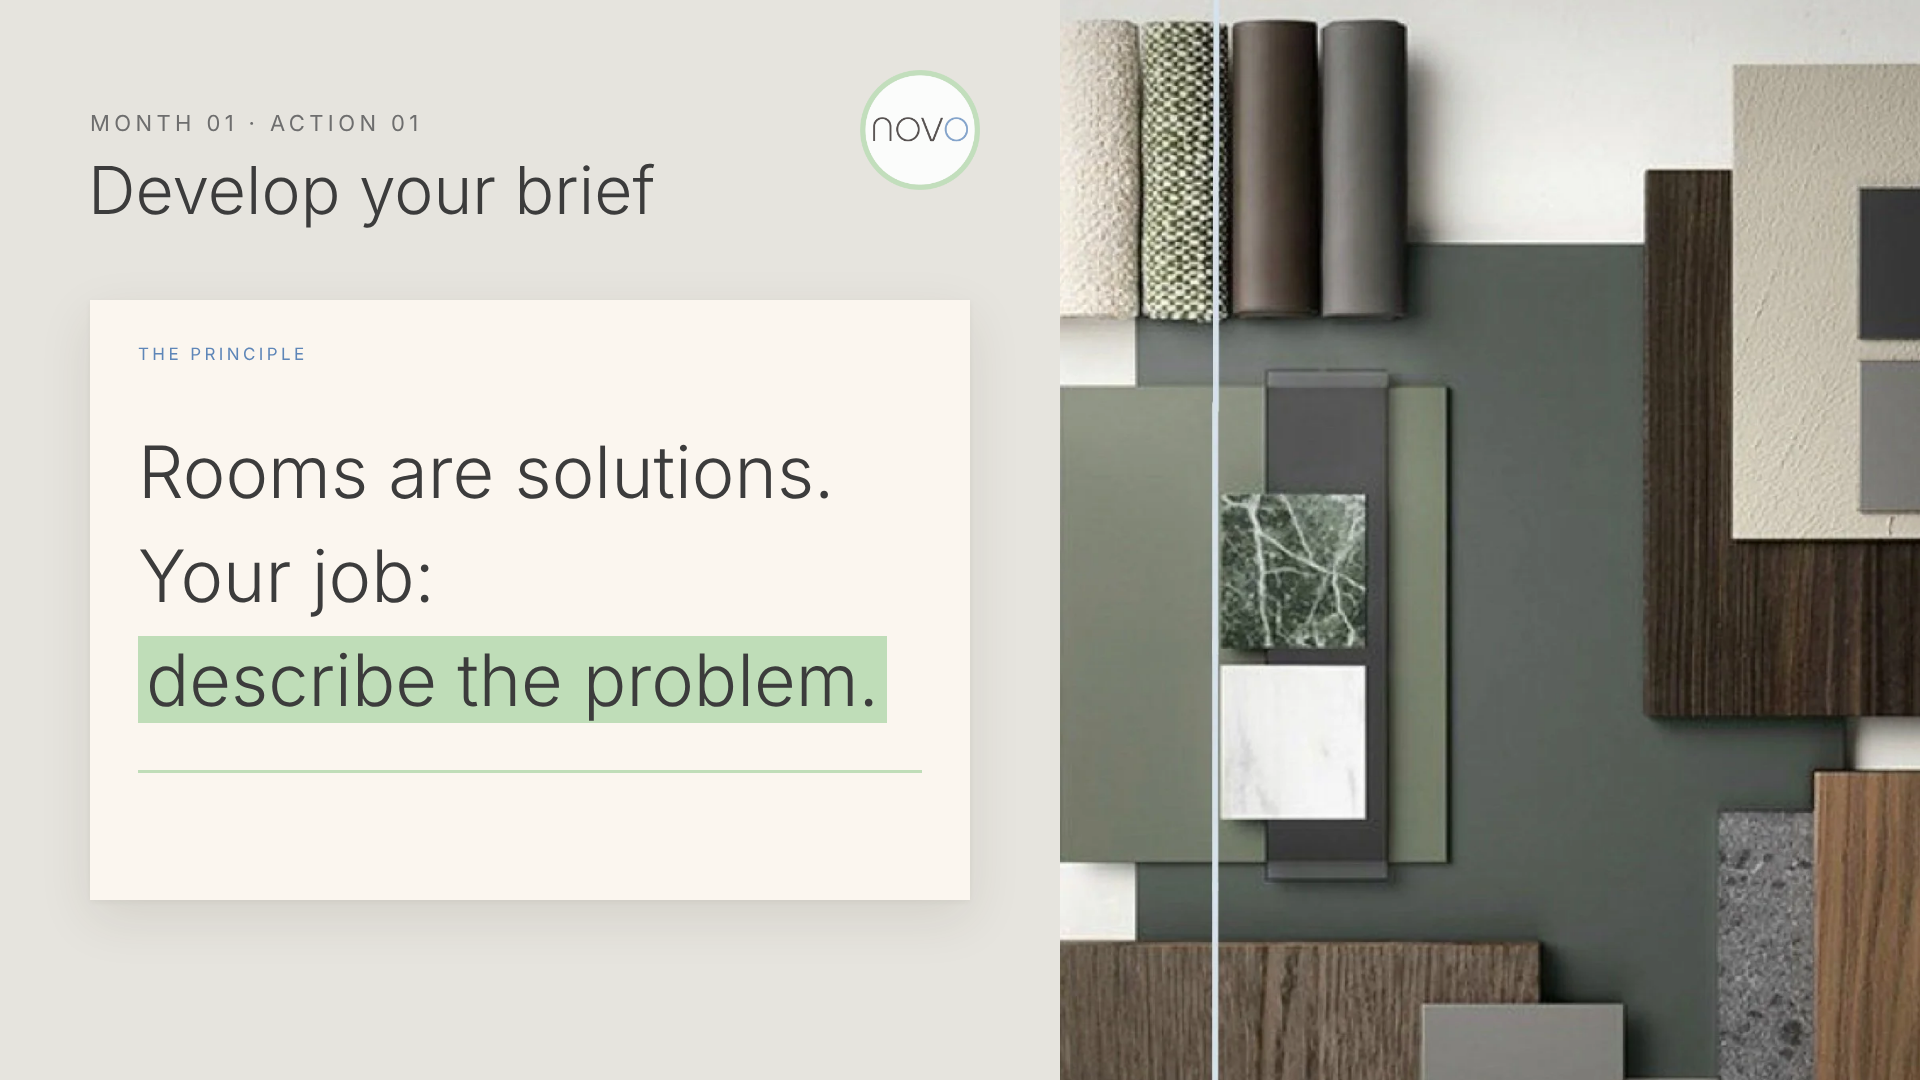
Once you have a high-level statement, think about your aesthetic requirements. Images of buildings and homes you admire are useful. Equally important are the natural materials, patterns and textures that inspire you. These are what create the most interesting architecture, and they will give you an emotional connection to your new home.
Only then should you write your list of rooms. It may seem unusual, but it's very important to leave this until last. As architects, we nearly always have clients describe their requirements to us as solutions, in this case a list of rooms. What we're really interested in is what drives you and what home means to you and your family. You employ your architect to find the solution. Your job is to articulate the problem clearly.
Action 02: Draft your Outline Cost Plan
With your room schedule and its areas, you can now give yourself an overall outline project cost based on a rudimentary square metre rate: floor area (m²) multiplied by a rate (£/m²).
There is plenty of information available to help you choose a suitable rate. It depends on the design quality, the size of your property and the complexity of the design. Our website, novo-design.co.uk, has articles on construction processes and costs, as well as detailed information on Passivhaus design and the costs you should expect for that level of quality.
For a more detailed cost plan, we'd encourage you to use the Novo Cost Model. It's based on an Excel spreadsheet and sets out all the key costs you should be identifying and recording, stage by stage, to give you a holistic picture of your overall project costs. You can download the free PDF by clicking on the button below , or, for a small fee, the full spreadsheet, ready for you to populate.

Action 03: Appraise your site
Armed with your brief and your outline costs, you're now ready to appraise potential sites. Site appraisal can seem daunting and, if you can afford it, it's good practice to employ a professional to carry out a full appraisal for you. If you'd prefer to do it yourself, our Site Appraisal Toolkit is a very useful guide. Just contact us through our website and we'll be happy to help.
The important considerations are site size, utilities, orientation, wind direction, topography, ground conditions and access. All of them should form a detailed part of your appraisal. If you're considering a Passivhaus or another sustainable environmental strategy, orientation, views and topography are particularly important.
It's also good practice to consider more than one site, so that you have options B and C. That gives you an objective view of your chosen site when you compare it with the others. Above all, be honest with yourself and hold yourself to account. It's very tempting to get carried away with the emotion of buying a site and getting started, so take your time, step back and be thorough.
Month 01, complete
That concludes Month 01. In simple terms, you'll have completed three key actions: you've developed your brief, prepared a broad outline cost and identified and appraised a potential site. Congratulations.
Your Month 01 Checklist
Develop Your Brief: how you live, how the home should perform, what inspires you. List the rooms last.
Draft your outline cost plan: floor area (m²) × build rate (£/m²), then detail it with the Novo Cost Model.
Appraise your site: size, utilities, orientation, wind direction, topography, ground conditions and access. Always compare options B and C.