Develop Concept Design
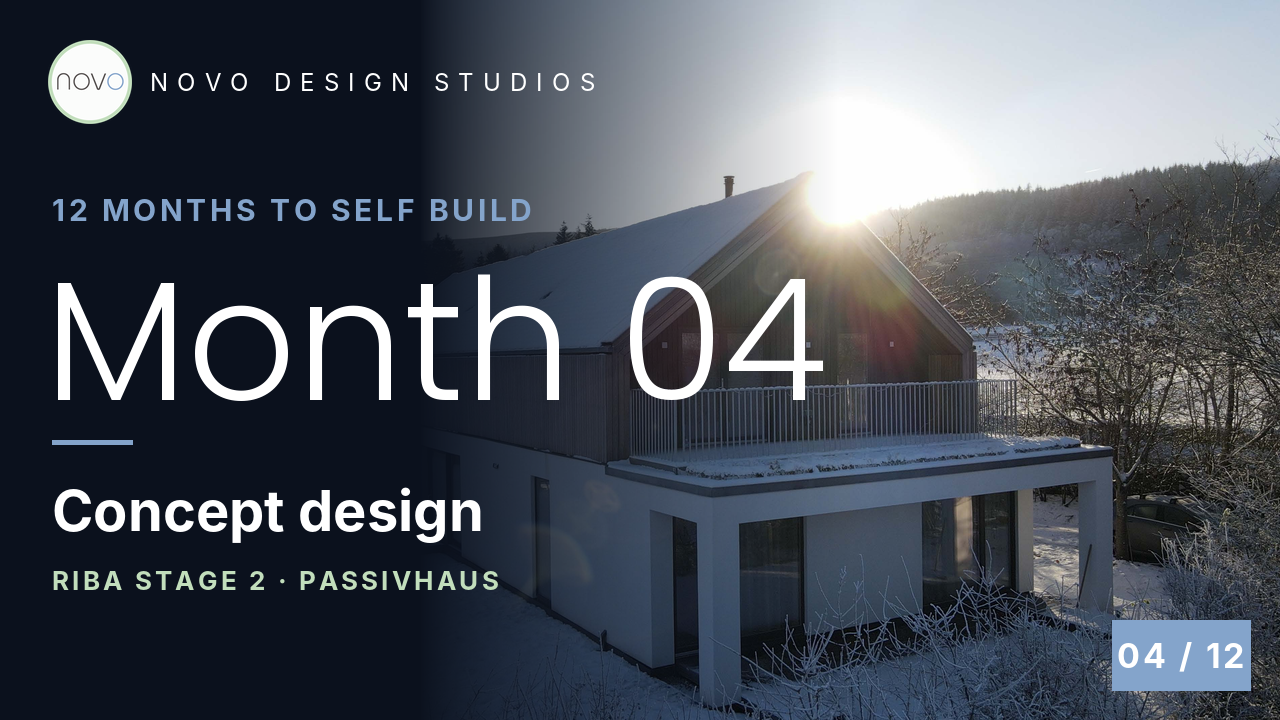
Month 04 is the month your new home stops being an idea and starts becoming a design.
So far in this series we've got you started with a brief, a budget and a site appraisal, secured your site, and last month put your design team in place. Now the real design work begins. In the RIBA Plan of Work, the framework most architects in the UK use to run a project, this is Stage 2: Concept Design. It's where your aspirations, your expectations and your budget are set down, and where the shape of your home first appears on paper. If you're building to Passivhaus, it's also where much of your home's energy performance is decided.
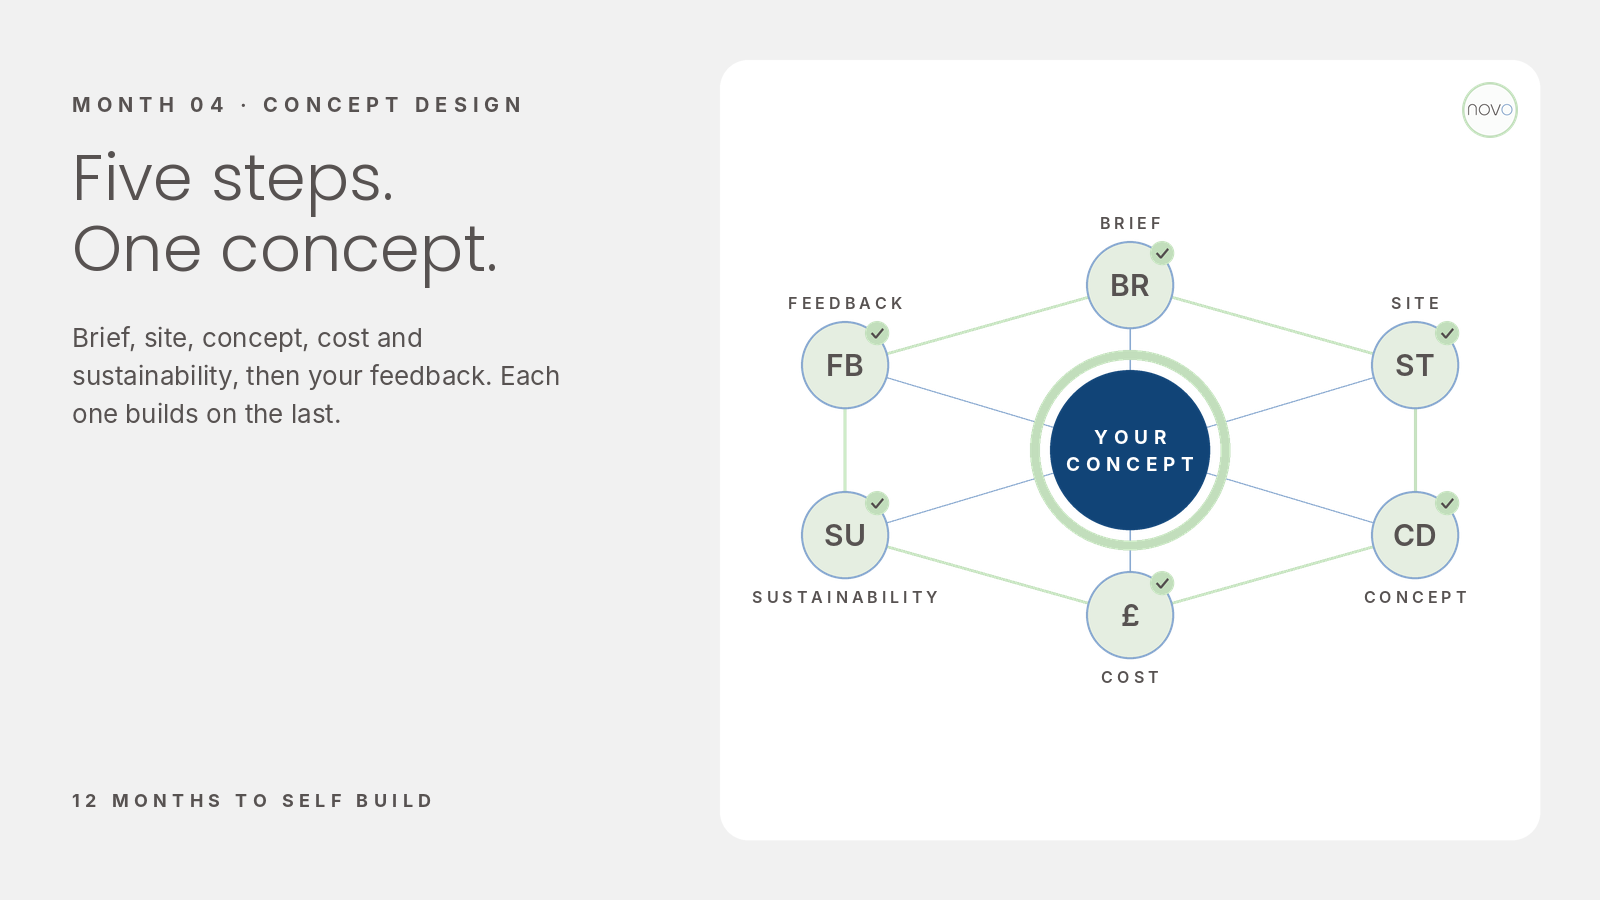
Here are the five steps I'd want every client to take this month, and the one thing that's so often overlooked.
Step one: agree your brief
Before anyone draws a line, you and your architect need to agree, in writing, what you're asking for. Without that, any design work risks being wrong, or worse, wasted.
It sounds obvious, but this is the step most likely to be rushed. Set aside proper time for it. A good architect will ask you plenty of searching questions: how you live now, how you want to live, and what this home needs to do for you in ten or twenty years' time. Some of those questions are uncomfortable to answer, and that's the point. The answers shape the rooms, the light, the way the house meets the garden and the way it will age with you.
Your brief should also set out your sustainability goals, your energy performance targets and your budget. And if you're building to Passivhaus, agree which class you're aiming for: Classic, Plus or Premium. That one decision shapes everything that follows.
If you'd like a structure to work through, our free Briefing Template covers vision and lifestyle, functional needs, sustainability and materials, budget and timeline: novo-design.co.uk/briefingtemplate.
Step two: understand your site
Next, your design team carries out a thorough site analysis: orientation, the path of the sun, the topography, the prevailing wind and the local climate. They'll also look for anything particular to your site that could limit the design, or inspire it. A view, a slope, a mature tree or a stone wall can be a constraint on paper and the making of the house in reality.
For a Passivhaus this matters enormously. Orientation and shading drive your solar gains, and they're very hard to fix later. Get them right at concept stage and everything that follows has something solid to stand on.
This is also a good moment to make a first enquiry with your local planning authority, to understand any constraints early. We'll come back to planning properly in Months 05 and 06, but the principle is simple: work with planning policy, not against it. Early engagement is the start of a productive working relationship with a key stakeholder in your project.
Step three: shape the concept
This is the exciting part. Design at this stage moves quickly. Hand sketches, drawings and early 3D models explore the form of your home, how it sits on the site, what it looks like and how the rooms relate to each other.
Behind the scenes, we test each option for energy performance. For a Passivhaus, that means early modelling in the Passive House Planning Package, or PHPP, to compare options and optimise the form, orientation and envelope before the design settles.
It's good practice to look at more than one option. It's far easier to explore ideas now than to change your mind later, when the structure, the services and the planning drawings all depend on the decisions you've made.
Step five: your feedback
Any successful project needs engaged client feedback. It empowers your team to deliver for you.
In our experience, an engaged client who pushes and tests their design team ends up with a better home than one who sits back. So make the time. Meet with your design team, review the drawings, ask questions, and don't be afraid to challenge the decisions being made on your behalf. Then make sure the design is updated to reflect what you've said, so your vision is accurately represented.
By the end of Month 04 you should reach three milestones:
1. A concept design presentation, with drawings, sketches and 3D views.
2. Approval of the preliminary cost plan, your go-ahead to the next stage.
3. An agreed sustainability strategy, aligned with your Passivhaus target.
The one thing people forget: your utilities
And finally, the step that's so often overlooked. During Month 04, contact your utility providers and ask for costs and permission to connect to your site. Back in Month 02 you checked that services were available. Now it's time for formal quotes, so the connections can be integrated into the design.
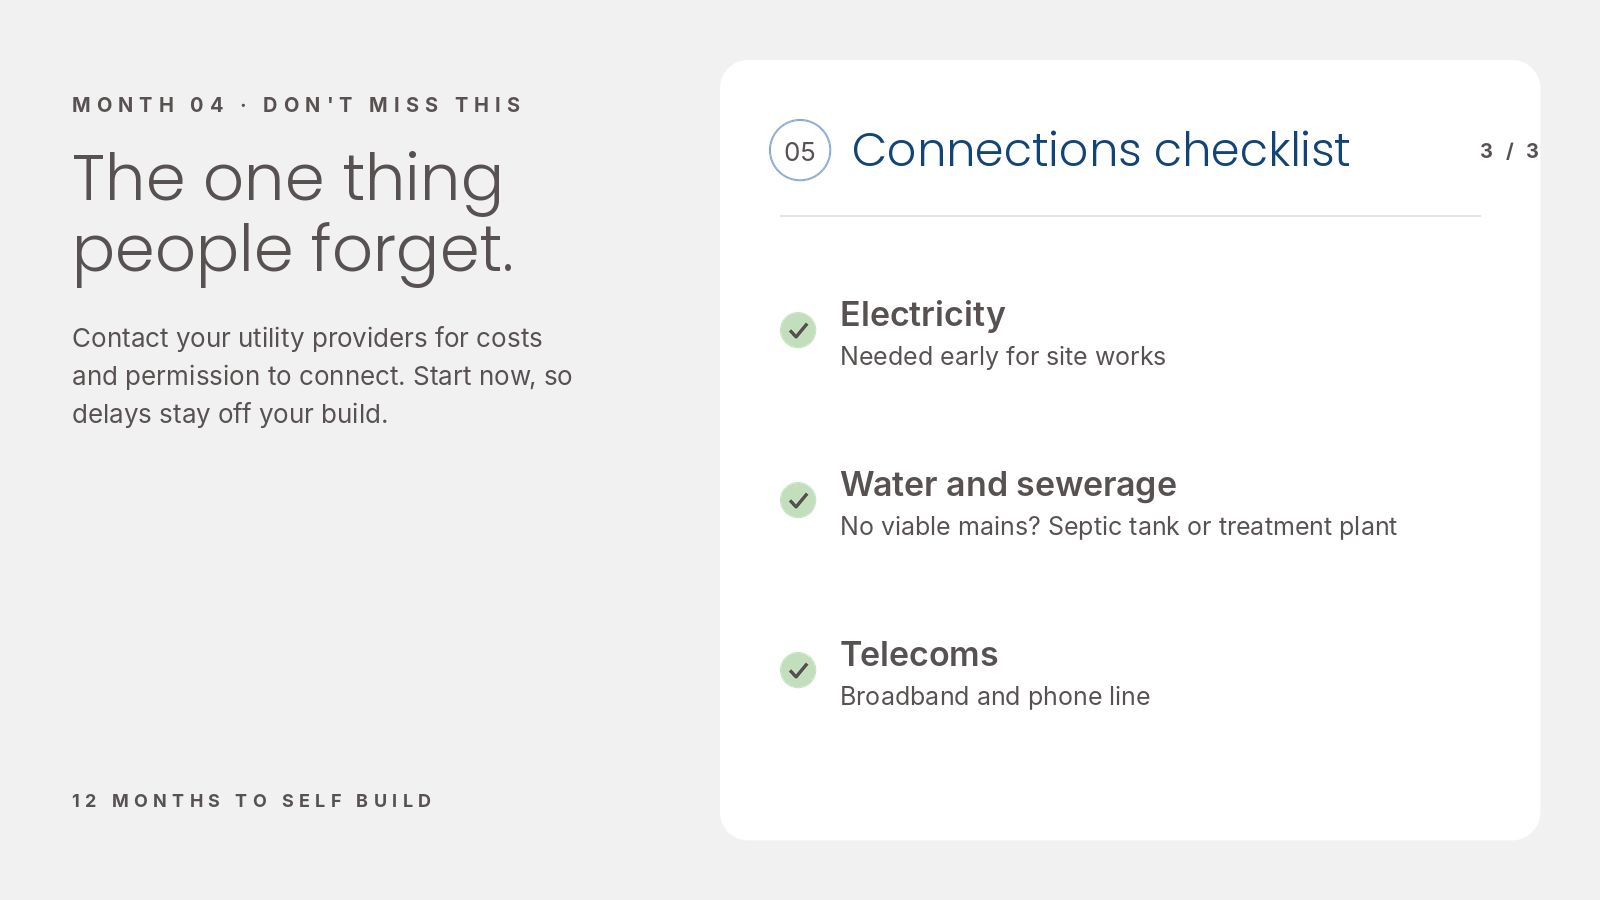
Use this as a checklist:
Electricity. You'll need it early for the site works.
Water and sewerage. Also needed early. For foul drainage, if a mains connection isn't financially viable, you may need a private system such as a septic tank or treatment plant, and that affects where the infrastructure goes on your site.
Telecoms. For your broadband and phone line.
In some instances you may not be able to secure a connection and will need to look at alternatives. Connections can be expensive, depending on where your site is and the capacity of the local network, and communication with utility providers can be slow and frustrating. Start now, so any delay doesn't land on your build programme.
Where Month 04 leaves you
By the end of the month your brief is agreed, your site is understood, you have a concept design you're excited about and a cost plan that supports it, and your utility applications are under way.
Next month, in Month 05, we test that concept against the engineering, coordinate the whole design and open talks with your planning authority.
We hope this article has been helpful and inspirational. If you would like to know more, you can contact us here.